Tuesday, January 31, 2012

Teenager Pin Board Re-Do

Hello Blog World,

Still doing a lot of hand sewing but got a bit over it on the weekend and decided to do other things.  So the weekend past was all about my daughter, she swapped rooms and is now in my husband’s office and he is in her old room, it actually worked out well for her it seems a bit more roomier.  Now we get the joy of decorating it.

So first thing a teenage girl needs is a pin board.  She had one but it was pink and made for her when we redecorated her room when she was 7 and still liked pink. Now it’s all about black and purple and other weird teenage stuff! So she took the board down and decided she would re-paint the frame black a while ago, and there were a few bits she missed as you can see.
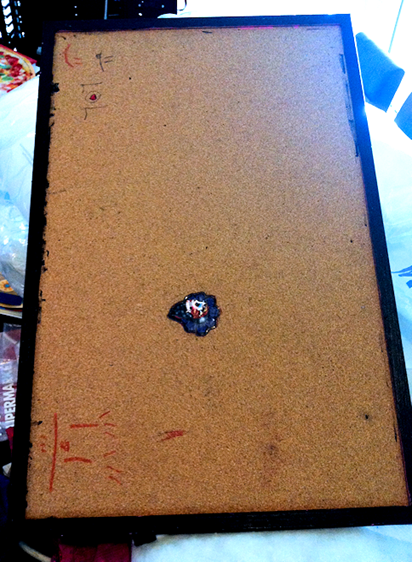
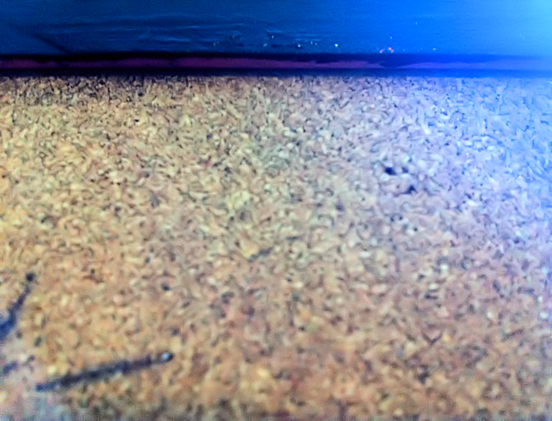
pinboard 001

pinboard 002

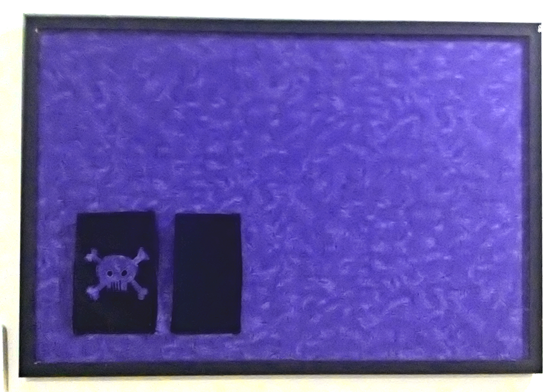
So I took it off again, got her to go through my material stash and we found this fab purple fabric. I fixed up her paint job and before I covered the board in fabric we decided that some pockets would be helpful for her.

pinboard 003

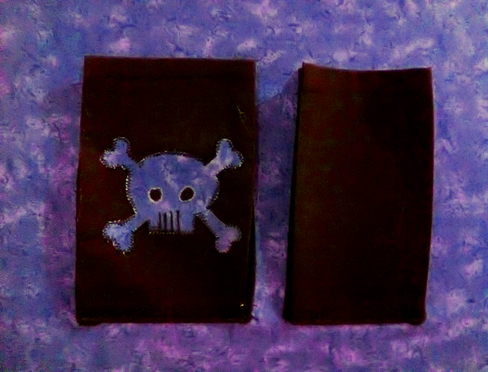
So I grabbed some contrasting material and made two pockets, sewed them on and because she is into skulls (don’t ask) I printed out a colouring page of a skull and appliquéd it onto one of the pockets, then attached to pin board.

Wah Lah one new pin board completed for a teenager!
pinboard 004

pinboard 006

I also made some cushion covers, so I will be back later with those. Wait to you see her choices, she certainly is unique!

Until then happy crafting        
42BD3B7A067E1982B5D475547CB5DF09


Sunday, January 29, 2012

All You Need Is Love (Free Printable)

Hello Blog World,

Welcome to my 100th Post!! WOW!!!!!!!!!!!!!!!!!!!!!!!!!!! Never thought I would make it. It’s been a fun journey and here’s hoping the next 100 are just as good.

So today I am giving something back to you guys, it’s only something little but with Valentine’s Day just around the corner I thought I would jump on the bandwagon and make a free printable for you all.

I was going to do some more subway art as I had so much fun with my Aussie Christmas Printable but then I saw that there were already heaps out there, so I came up with this.

all you need is love pink 2
As I said, something little as I am still only just a fiddler when it comes to my graphics program, but because this was so easy I went nuts and made quite a few colours, just click on whatever colour you like to be taken to the download page for an A4 size.

all you need is love coral all you need is love ocean blues
all you need is love pink 2 all you need is love pink
all you need is love red hearts all you need is love red navy
all you need is love red purple 2 all you need is love red purple
all you need is love red rainbow 2 all you need is love red rainbow
all you need is love red all you need is love teal

Told you, went a bit nuts!! But there are lots of different colours to choose from and some cool patterns.  If there is a colour that’s missing that you would like let me know I would be more than happy to make for you!

So thank you to everyone for the last 100 posts, I love reading everyone’s comments and getting out in the wonderful crafty blog land, I still can’t believe how many talented people are out there!!!  Cheers to 100 more.

champagne-toast

Until then Happy Crafting

42BD3B7A067E1982B5D475547CB5DF09


Saturday, January 28, 2012

Portrait of my Child

Hello Blog World,

Yes I am still hand appliqueing but I will be taking a break this weekend to make my daughter a pillow and to make a card.

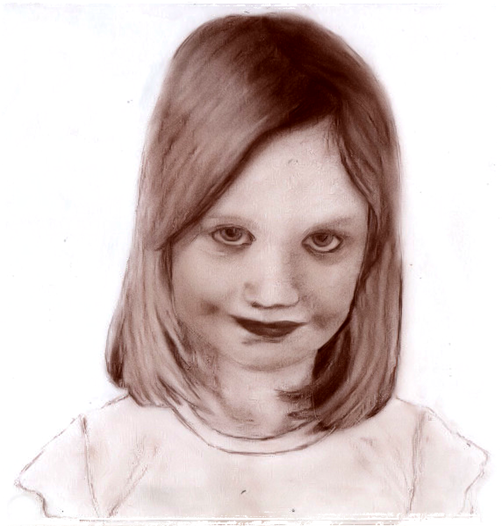
So today I will show you another old drawing of mine. The other day I showed you my green tree frog done with coloured pencils and then my daughter’s art.  Well today is portrait I did of my daughter when she was 6 (she is now 13 1/2) done in sepia pencil.

tiana march 05

I had never worked in sepia pencil before and haven’t since, I did like the media but it was very hard to work with, and people portraits are not my thing, I like animals!

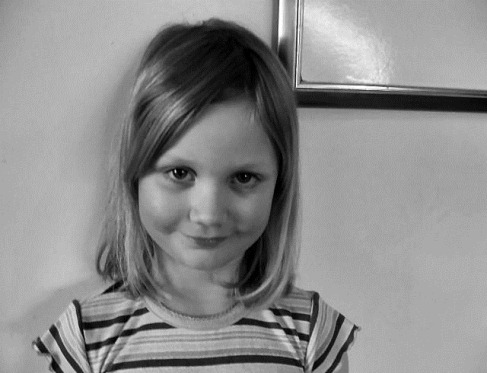
Here is the original photo I used as my reference.

DSCF0055

What do you think?? I was very please with the result and such a cheeky smile! I didn’t want to do all those stripes so I left her t-shirt blank. This is A4 size again and proudly in a frame in my craft room.

Looking back at my old artwork the last week gets me motivated to do more, unfortunately producing something like this or my frog takes me hours upon hours (a bit like hand appliqueing).  I am currently working on an elephant and have already spent at least 6 hours drawing time for a half finished drawing! I will get my motivation back one day.

Anyway this was my 99th post people, I will be back tomorrow with my 100th and with a little freebie for you all.

Until then Happy Crafting

42BD3B7A067E1982B5D475547CB5DF09


Friday, January 27, 2012

Mini Spinach Meatloaves

Hello Blog World,

First I have to say I have been a slacko the past week and have forgotten to give props to two fabulous blogs that have featured me! Yes me!! I was in such awe when I saw their posts.

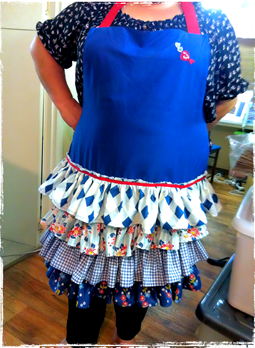
Firstly to Kelley @ The Grant Life for featuring my Retro Ruffle Apron, she hosts a wonderful party every Friday and she has just posted a recipe for some scrumptious looking oatmeal!

apron 001

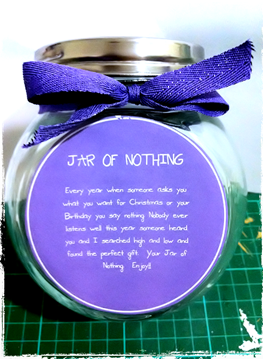
Secondly to Katie @ The Crafty Blog Stalker for featuring my Jar of Nothing, her party is every Thursday, there is a new one up so go over and check it out for some great inspiration.

jarofnothing 02

Thank you ladies for noticing me and thinking I am worthy, I was absolutely thrilled!!

But today I have another healthier recipe for you (yes still hand sewing, hopefully will be finished this weekend and I can actually start piecing my quilt together.  YAY!! And then no more recipes for a while, I promise)

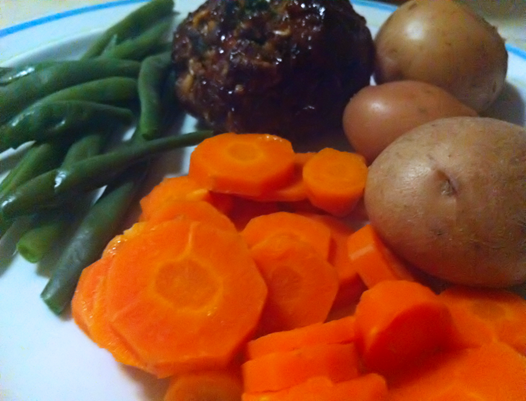
I present to you Mini Spinach Meatloaves

mini spinach meatloaves 005
(full recipe after the pretty pictures)
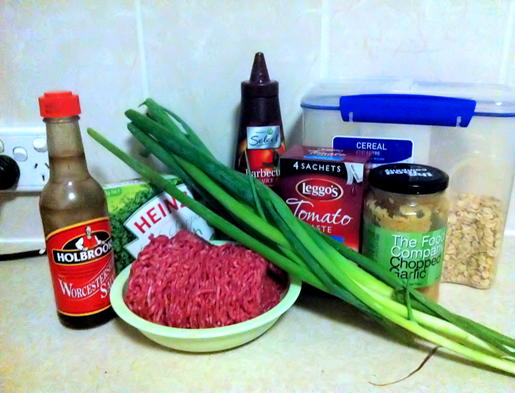
As always grab your fresh ingredients.

mini spinach meatloaves 001

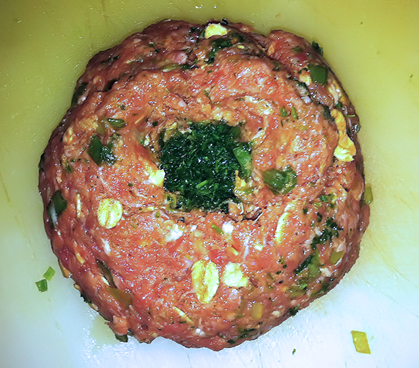
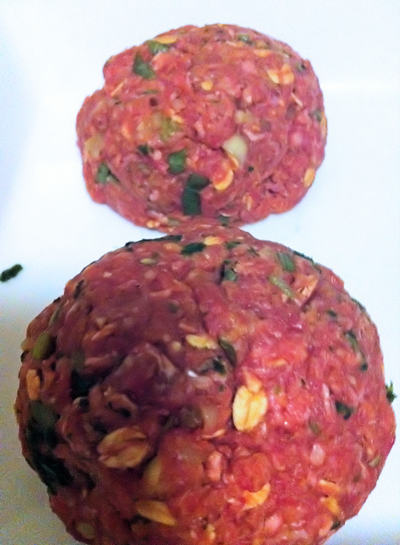
Mix all in a bowl and form 4 round balls, make a small hollow in each and stuff with defrosted frozen spinach.

mini spinach meatloaves 002

Cover hole, place in baking tray, cover with sauce and bake for 20-30 minutes.
mini spinach meatloaves 003

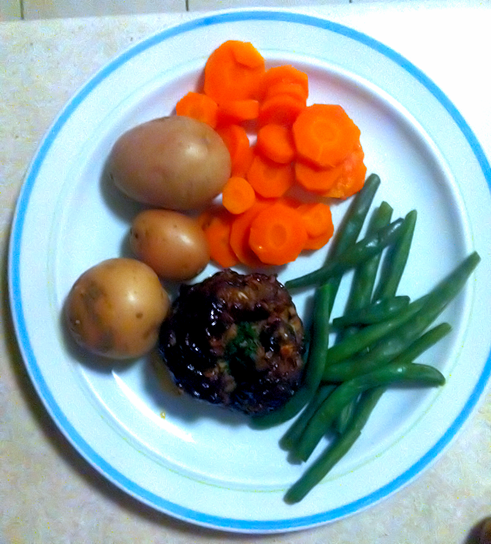
I serve mine with jacket potato, steamed green beans and carrots.


Mini Spinach Meatloaves (full recipe)
(adapted from calorie king)
What you will need
  • 160 g frozen spinach
  • 2 Tbsp water
  • 2 Tbsp barbecue sauce
  • 500 g lean beef mince
  • 1/4 cup oats
  • 3 spring onions, finely chopped
  • 1 Tbsp tomato paste
  • 1 tsp pepper
  • 1/2 tsp garlic powder
How to cook it
Preheat oven to 180C.

Defrost spinach. Squeeze out excess liquid ( you can use fresh spinach if on hand, we will often do that)

In a bowl, combine mince, oats, onions, tomato paste, pepper and garlic. Mix well.

Divide mixture into 4 balls. Make a hollow in the centre of each ball and fill with one quarter of the spinach. Shape into round patties to enclose filling. Place in baking dish and spread barbecue sauce over top of loaves.

Cook uncovered in oven for 20 - 30 minutes or until meat is firm.


mini spinach meatloaves 004

This is another family favourite, and very quick to make.  Hubby normally lathers his potatoes in butter or sour cream, and I use salsa as it’s lot healthier.  Using salsa and serving with potatoes, carrots and beans the whole meal weighs in at 363 calories and 7.5g of fat but it doesn’t feel that healthier, it has heaps of taste and flavour and something I like to cook when I feel like having a fatty meal (as it makes me feel like it’s cheating because of how good it is when in fact I’m not).

On that note a quick update on the healthier lifestyle, I have been exercising every day for the past 2 weeks, I had put on 4 kilo’s over December and beginning of January, but happy to report I have lost them again and an extra one. So starting from this year I have now lost 5kg! Yay for me.

Now off to finish this darn hand sewing and don’t forget to check out Kelley @ The Grant Life & Katie @ The Crafty Blog Stalker.


Until then Happy Crafting.
42BD3B7A067E1982B5D475547CB5DF09


Thursday, January 26, 2012

More Thrifty Finds

Hello Blog World and to my fellow Aussies Happy Australia Day!!

Not doing much today as the weather is terrible but I did pick up my new hutch this morning so now I can’t wait to redo it!!!!

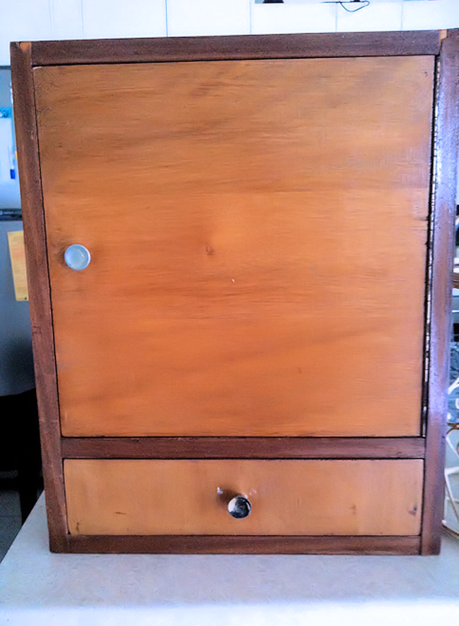
So I was at the hairdressers with my daughter the other night and while I was waiting for her to get done, I went for a walk outside and there was a thrift shop there but it was closed.  Didn’t stop me from looking in the window though and I spotted something I liked!!! So after dropping her to school the next morning I rushed straight over there and look at what I picked up for $8!!!!!!!

more thrifty finds 001

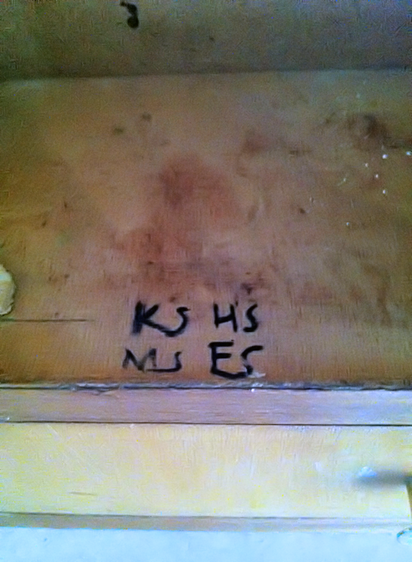
It’s a good 50cm tall and has a shelf on the inside, and look what else I found on the inside.

more thrifty finds 002

It just done in sharpie so easy to go over, but it’s interesting to see,I wonder who it belonged to in a previous life??

What I didn’t spot in the window but spotted while walking around the shops were these two beauties.

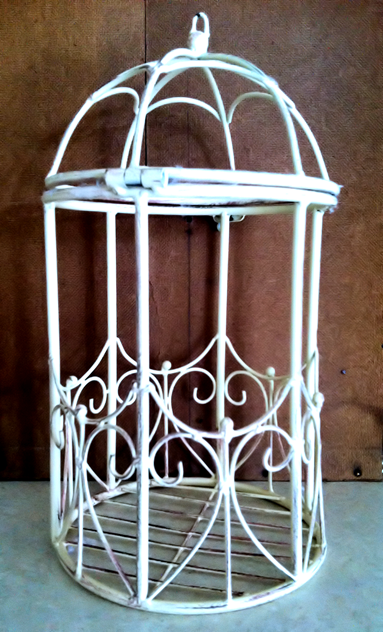
more thrifty finds 003

$3.50 for this bird cage, this stands about 30cm tall, and while I now realise the photo makes it look bent it’s not.  I am very pleased with this find as bird cages like this brand new range from $20 – $70 depending on how big and where you get it.

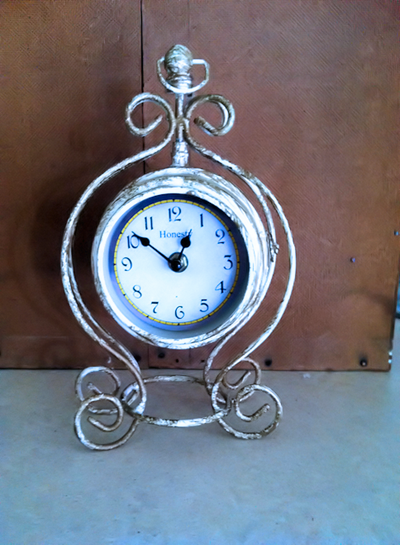
My last find at the shop is this very unique and interesting clock and only $6!!

more thrifty finds 004

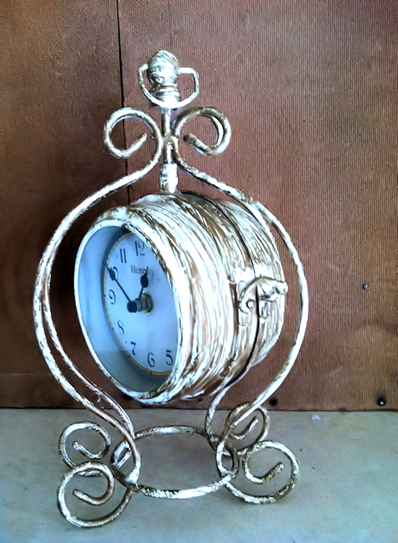
It’s a two faced clock! I had never seen one before, but you spin it around and there is a clock on the other side and both sides work! You can either hang it or sit it on a shelf etc…

I don’t know but for some reason it reminds me of Cinderella’s carriage.

more thrifty finds 005

Someone has painted a dirty gold colour over the top of the lovely cream, but that will be easily fixed! I thought the clock and birdcage went really well together.

So at $17.50 I was really pleased with my trip and now besides all my hand appliqueing I have heaps of redo’s to do!! Busy times ahead.

What are some of your favourite thrifty finds? Check out some of my other finds here.

Well back to hand sewing, Happy Australia Day everyone and until later Happy Crafting.

42BD3B7A067E1982B5D475547CB5DF09


Wednesday, January 25, 2012

A Child’s Eye on Art

Hello Blog World,

Still no new crafts.  Hand appliqueing is driving me insane so I am diddly daddling around on the computer and pinterest instead of hand appliqueing.  Hey a girl needs a break!

First I just have to share with you a new site I found today, I think it could be as addicting as pinterest!!! It’s called Random Tutorial Generator.  You just click a button and it takes you to a random craft tutorial, how fun is that!!!!

Ok that’s out of the way, since I have no new crafts I thought I would steal find inspiration from an online buddy’s blog, it’s in Estonian so I have linked to the English google translation for you.  Anyway, she recently posted some art from her daughter and since I have no new crafts to share with you today I thought I would do the proud bragging mother thing and do the same.

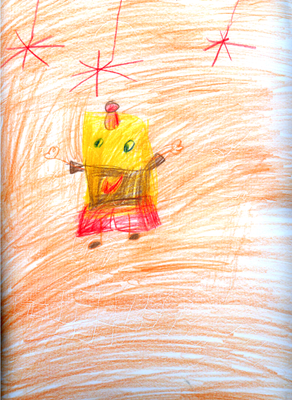
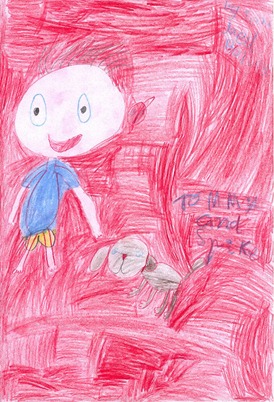
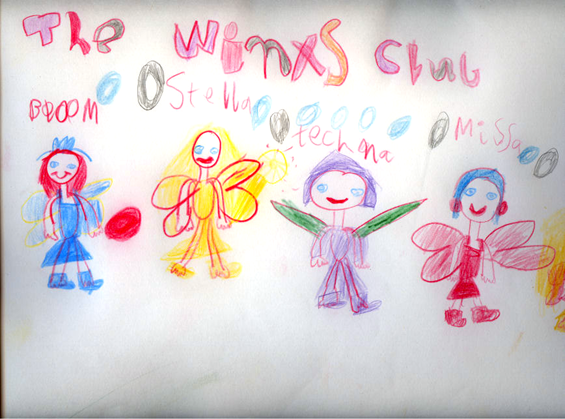
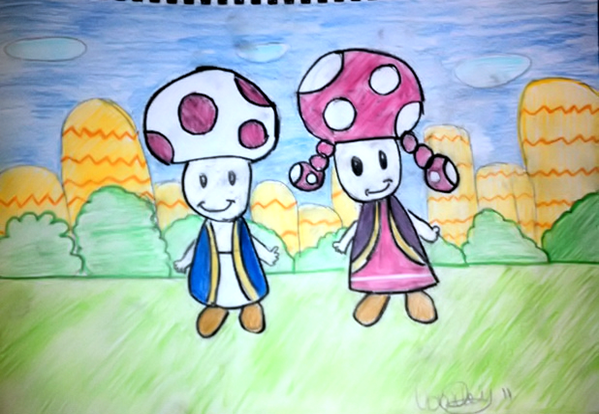
First to show you her drawings from when she was about 6


tianas art 004 Tommy & Spike
tianas art 005

We have spongebob, Tommy and Spike from Rugrats and The Fairies from the Winx club.

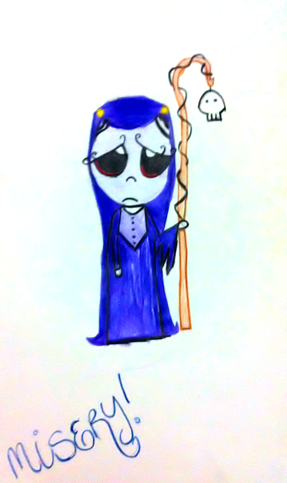
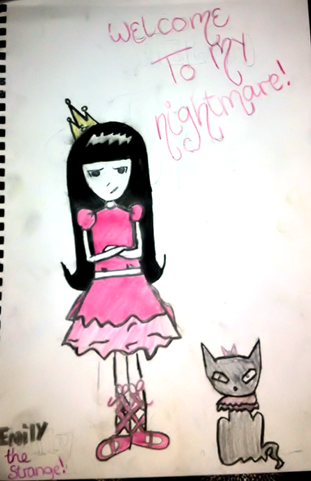
Tiana has always had the drawing bug (I wonder where she gets it from) and it has continued right up to her teenage years.  And she now produces these

tianas art 002 tianas art 003
tianas art 001

She likes anime and cartoons which is not my style personally and I might just be seeing these through a mother’s eye but I think these are great for that style!!! She loves Emily the Strange and Ruby Gloom, so I have those little girls all over her room at the moment.

Also you gotta love the digital world, I have scanned and/or photographed all her drawings, so I now don’t feel guilty about getting rid of them.  There are only so many pieces of paper you can keep right?  Or am I just a terrible mother??

So there you go art through a child’s eye. Check out the random tutorial generator and if you find something cool let me know.  Now off to aerobics, housework and more hand sewing!!!!

Until then Happy Crafting

42BD3B7A067E1982B5D475547CB5DF09


Tuesday, January 24, 2012

Quilt Panel Sneak Peek

Hello Blog World,

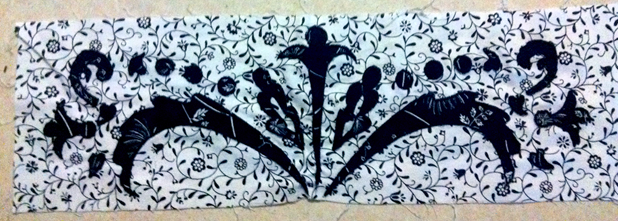
Just a quick post to show you why I haven’t had any new crafts up. I have been doing a lot of hand appliqueing to 4 panels for a new quilt I am working on and I am pretty slow let me tell you.

It’s an all black and white quilt and it’s 38” square and will end up on my wall if it turns out!

So I present to you today my first completed panel!

quilt sneak peek 01

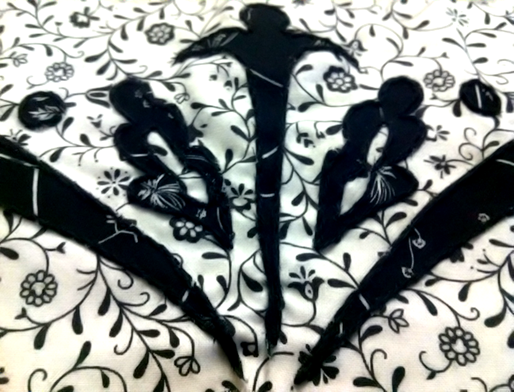
Yes all those little bits have hand applique stem stitch around them!  Lots of work. What was I thinking??

quilt sneak peek 02

I do have to make a birthday card, so I will try and fit that in this week and I did want to cover my daughters cork board for her so I think I will break up all the hand sewing with that. Plus I have to clean my craft room for my new hutch!!!!!!!!!!! WOOHOO oh and paint it first!!

Anyway that’s it for today, off to aerobics then hairdressers then more hand sewing.

Until then Happy Crafting.

42BD3B7A067E1982B5D475547CB5DF09


Monday, January 23, 2012

Green Tree Frog–A Drawing and other Ramblings

Hello Blog World,

As you all know I am currently doing a lot of hand appliqueing for a new quilt so it’s not leaving much time for other new crafts.  I did finish my first panel yesterday I will be back later with a sneak peek!

I am also in the middle of trying to re-organise the home and have started on the pantry so that should be finished this week and will hopefully have some cool pics for you later in the week. 

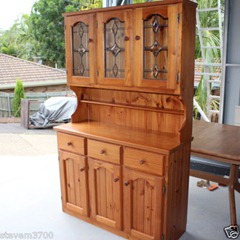
My craft room was another goal this year and while I haven’t technically started yet. I did pick up this great hutch on ebay yesterday, I am very excited so look forward to a redo on this.


$(KGrHqZHJDQE7y9 vCcpBPEkG!)!bw~~60_12

Another goal of mine was to finish my elephant drawing I started last year, before I found all these other crafts drawing was a big passion of mine, and while it still is.  I simply do not do it enough anymore.

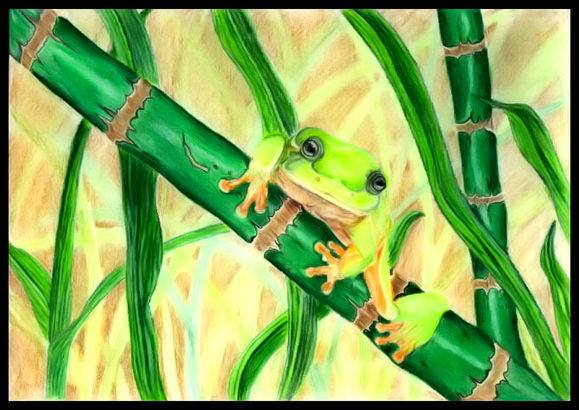
One piece I am very proud of I did about 7 years ago (way before my blogging life) is this little green tree frog done in all coloured pencils.


Green Tree Frog

It took hours upon hours to complete and I think I used all my green pencils and my white pencil doing the highlights.  Kermit (yes I named it Kermit, don’t ask) is about A4 size and is a nice black frame on my wall.  As I said very proud moment.

So there you go a bit about my crafting life before blogging, I will be back tomorrow with a sneak peek on the quilt, but now I need to buy school supplies for my daughter and then more hand applique YAY!!!

Until then happy crafting

42BD3B7A067E1982B5D475547CB5DF09